
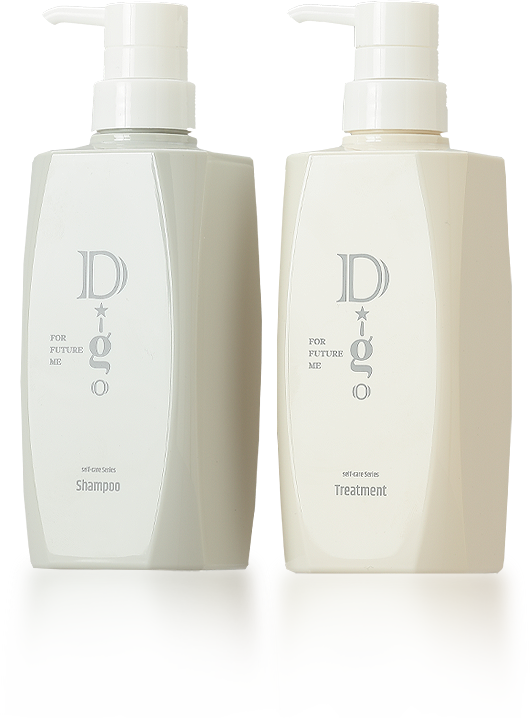
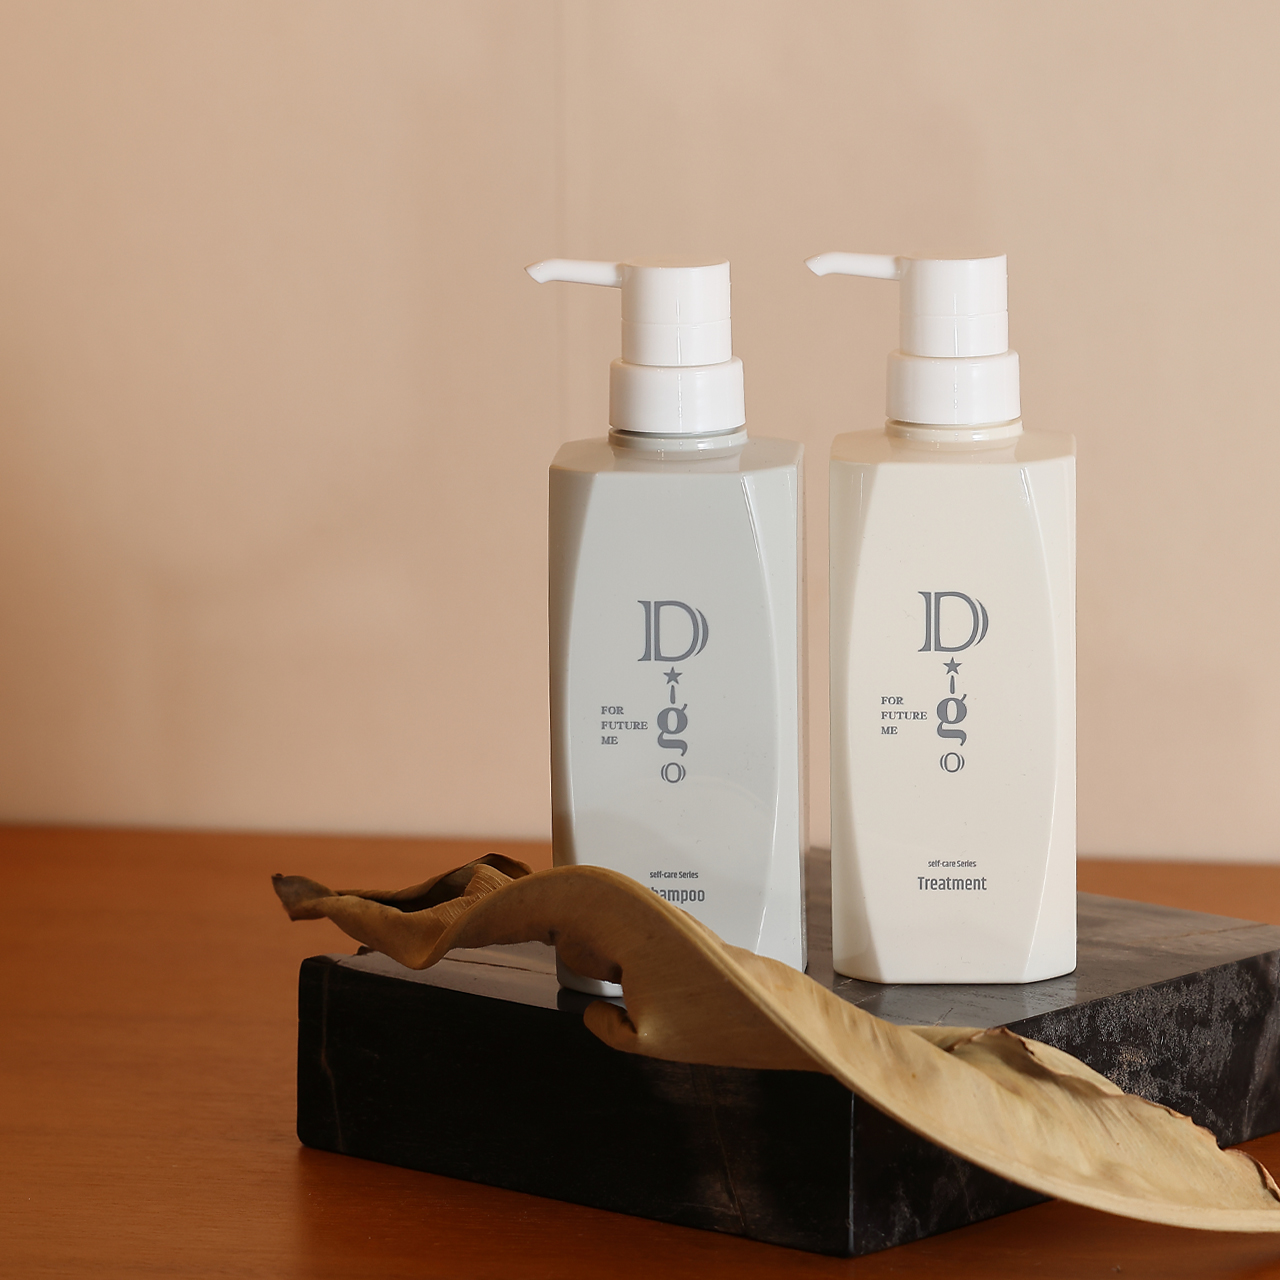
THE HAIR CARE SERIES
shampoo & treatment
「これまでとは違う」
たった一度で実感する、次世代成分の奇跡
たった一度で実感する、次世代成分の奇跡
ヒト臍帯血細胞順化培養液 ※国産
ヒトサイタイ血由来幹細胞エクソソーム ※国産
ヒト毛根幹細胞順化培養液 ※国産(毛根ケア)
ヒトサイタイ血由来幹細胞エクソソーム ※国産
ヒト毛根幹細胞順化培養液 ※国産(毛根ケア)
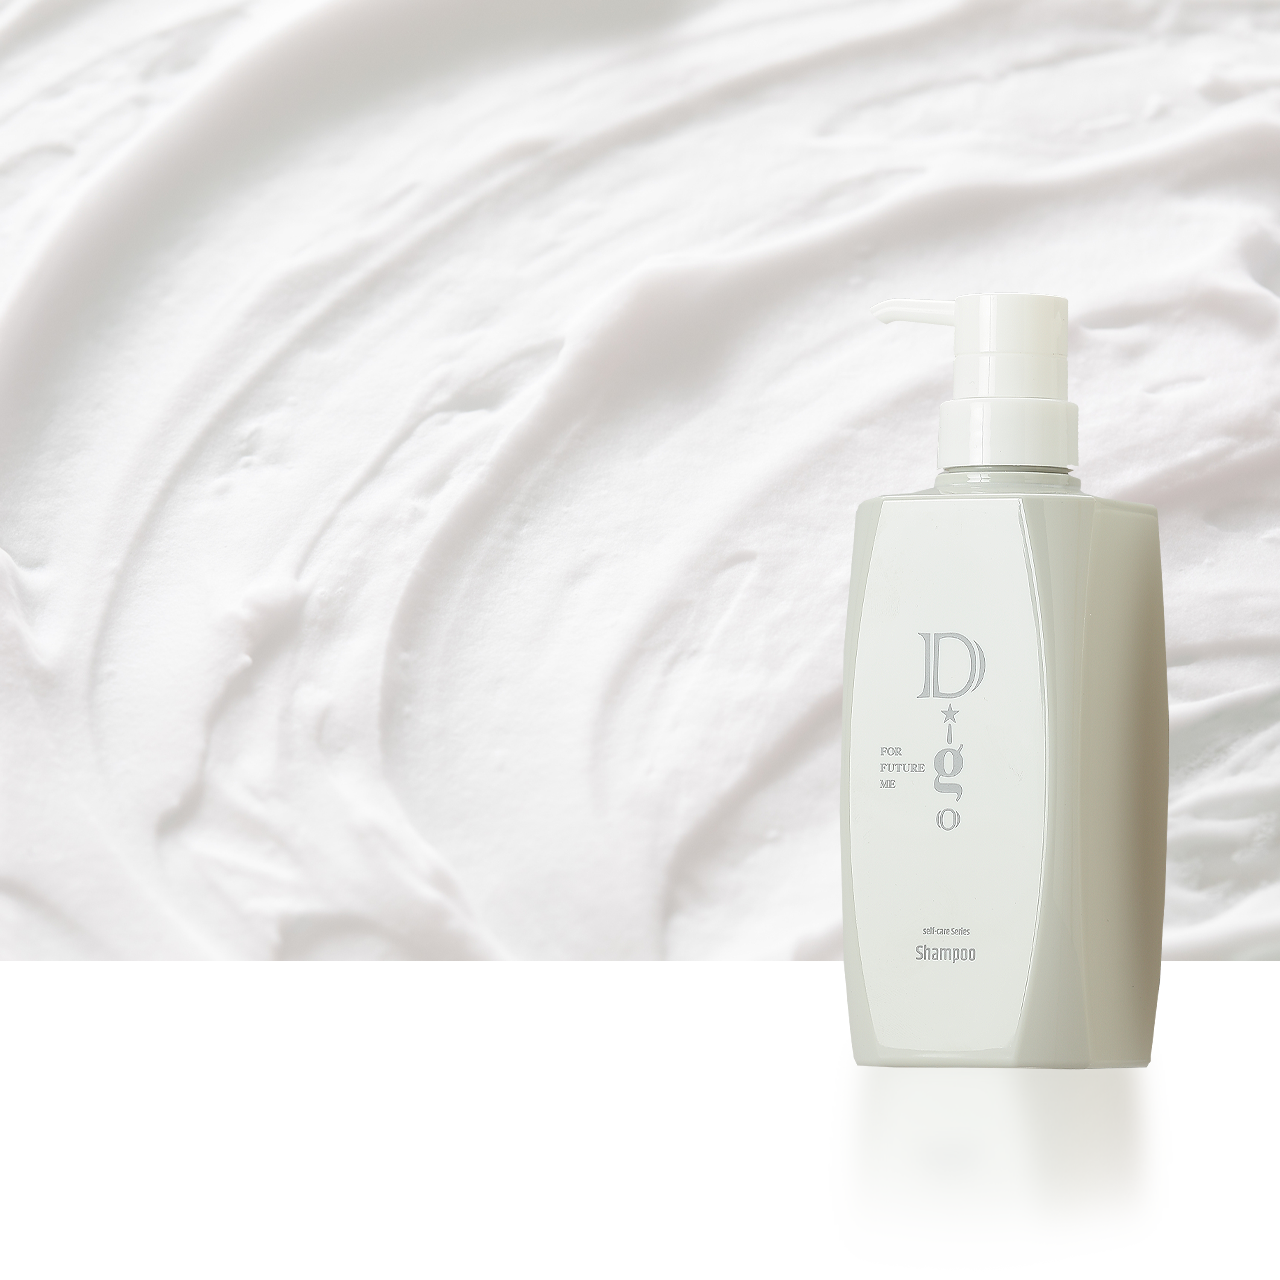
500mL
各12,000円
(税別)
各12,000円
(税別)
歳を重ねてもきれいな髪
髪がまとまりやすくなった
年齢を言ったら驚かれるツヤとハリ
そして髪の根本の立ち上がりーー
答えは、独自の調合力+次世代成分の配合
にありました
「まずは髪から自分に自信を」
目に見える変化を求めるあなたへ!エクソソームと毛根幹細胞の力を実感しましょう。
「エクソソーム×毛根幹細胞」 次世代成分が導く、圧倒的な変化
Digo(ディーゴ)シャンプー&トリートメント
ケイツープラネット株式会社 Digo事業部
〒604-8095 京都府京都市中京区大文字町351
バウム御幸町御池 4F
email : msg@digo.jp
※「Digo」は、ケイツープラネット株式会社の商標登録です。
ABOUT US
© K2 Planet co.,ltd All Right Reserved.
